
Deploy Phoenix app with Caddy and VPS

Raison d'être
This is more of an alternative method for deployments. One would use something like fly, render, gigalixir, EC2 + release and the list goes a bit further. But we're doing this for the sake of learning :wink:.
Note: anything we did here is not ideal for production. So don't blame me if something goes wrong!
Target readers
- New to Phoenix framework: since we're not discussing specifically about the framework, but rather on how to deploy a Phoenix app.
- Wanting to use an easier and simpler configs than [nginx] for web server.
- If you still want to follow this article, at least some familiarity with basic linux commands (ie. installing packages) and how to use the terminal helps alot.
- Using
Docker+VPSas a simplified way of deployments.
Setup
- Pick a VPS provider (e.g.
linode,vultr, etc.). In this article, I'm picking a Debian distro (YMMV) from Vultr. Screenshots below:
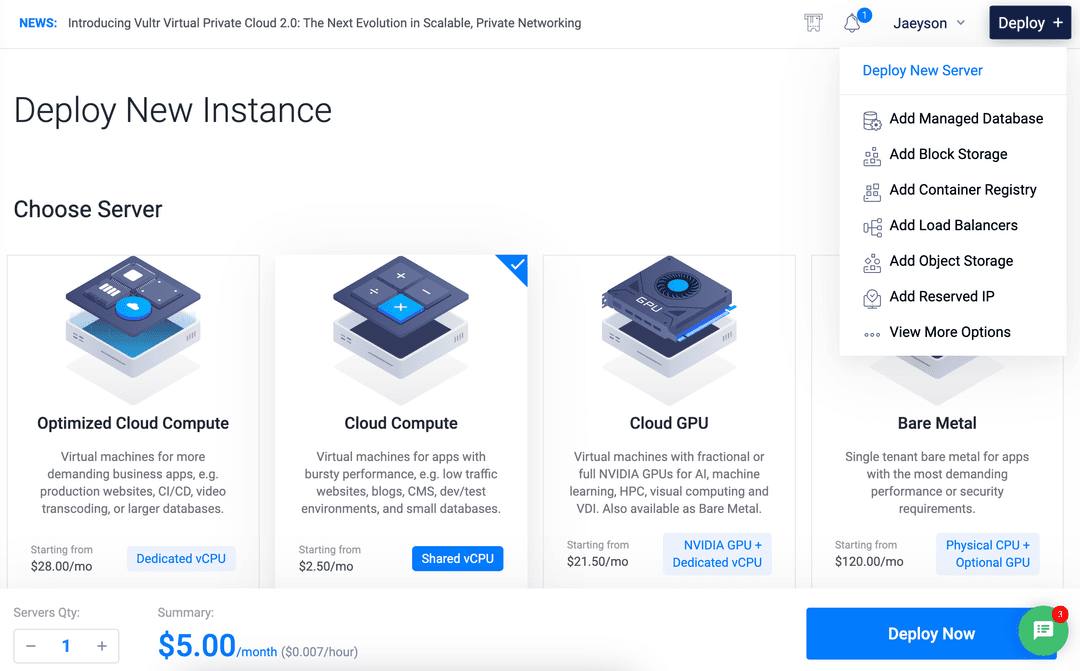
Cheaper instance in Vultr would be in Cloud Compute
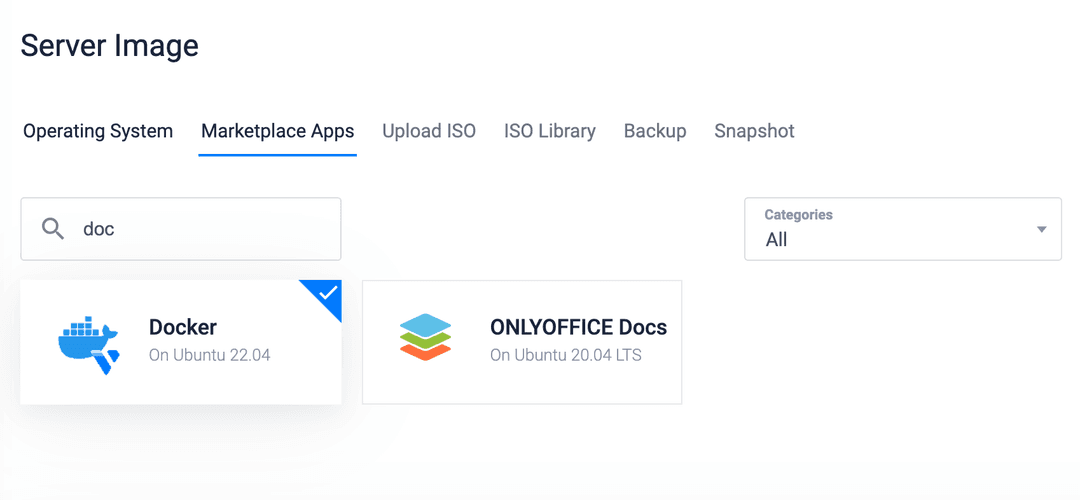
We're choosing a Docker preinstalled instance
note: You can also find affordable VPS deals where you can rent yearly instead of monthly, see here.
-
If the instance you bought doesn't come with Docker, you should install it now. Otherwise skip this step.
-
Install the language and framework. Note: Elixir v1.15.6 and Phoenix 1.7.9 as of this writing.
sudo add-apt-repository ppa:rabbitmq/rabbitmq-erlang
sudo apt update
sudo apt install elixir inotify-tools erlang-dev erlang-xmerl
mix local.hex
mix archive.install hex phx_new
Create a new project
We're creating a new Phoenix project using SQLite as our database.
mix phx.new my_app --database sqlite3
* creating my_app/lib/my_app/application.ex
* creating my_app/lib/my_app.ex
******** LONG ASS FILES ARE TRUNCATED *********
***************** FOR BREVITY *****************
* creating my_app/assets/vendor/heroicons/UPGRADE.md
* extracting my_app/assets/vendor/heroicons/optimized

Fetch and install dependencies? [Yn]
Once done, you may cd my_app. On the next step!
releaseing it to the wild
We'll use release command for our app to be dockerized, a Phoenix task (cli command) to generate a Dockerfile. Also, notice in this next step we're issuing a mix phx.gen.secret as application secret.
mix phx.gen.release --docker
mix phx.gen.secret
Then create .env file in the root project directory:
Note: you should paste the secret returned by
mix phx.gen.secretas a value forSECRET_KEY_BASE
SECRET_KEY_BASE=PASTE THE RESULT FROM mix phx.gen.secret HERE
PHX_HOST="domain.co"
Then create a docker-compose.yml file:
# docker-compose.yml
services:
  app:
    container_name: app
    build: .
    env_file: .env
    ports:
      - "4000:4000"
    restart: "always"
    environment:
      - DATABASE_PATH="/path/to/my_app/my_app_prod.db"

  caddy:
    container_name: caddy
    image: caddy:2.7.5-alpine
    restart: unless-stopped
    command: caddy reverse-proxy --from https://domain.co:443 --to http://app:4000
    ports:
      - 80:80
      - 443:443
    volumes:
      - caddy:/data
    depends_on:
      - app
volumes:
  caddy: {}
Then docker compose up -d and visit domain.co. You may also use docker container logs --follow --tail 50 caddy to see if our web server is responsive.
Horay! At this point you should see the default Phoenix app in the domain you chose (Assuming everything went well).
You can stop reading now. Or check Misc. section for added tweaks/changes.
Feedbacks, questions, rants, etc.
Misc.
A. If you only wanted to see if this work with only ip address (ipv4) and don't want to use a domain name, change the following:
Using the same setup we did earlier, 2 files needed to be tweaked:
One is the .env file:
SECRET_KEY_BASE=YOUR_SECRET_BASE
PHX_HOST=107.111.11.11
And the other, docker-compose.yml:
  caddy:
    container_name: caddy
    image: caddy:2.7.5-alpine
    restart: unless-stopped
    # pay special attention that we're using "http" here
    command: caddy reverse-proxy --from http://107.111.11.11 --to http://app:4000
    ports:
      - 80:80
      - 443:443
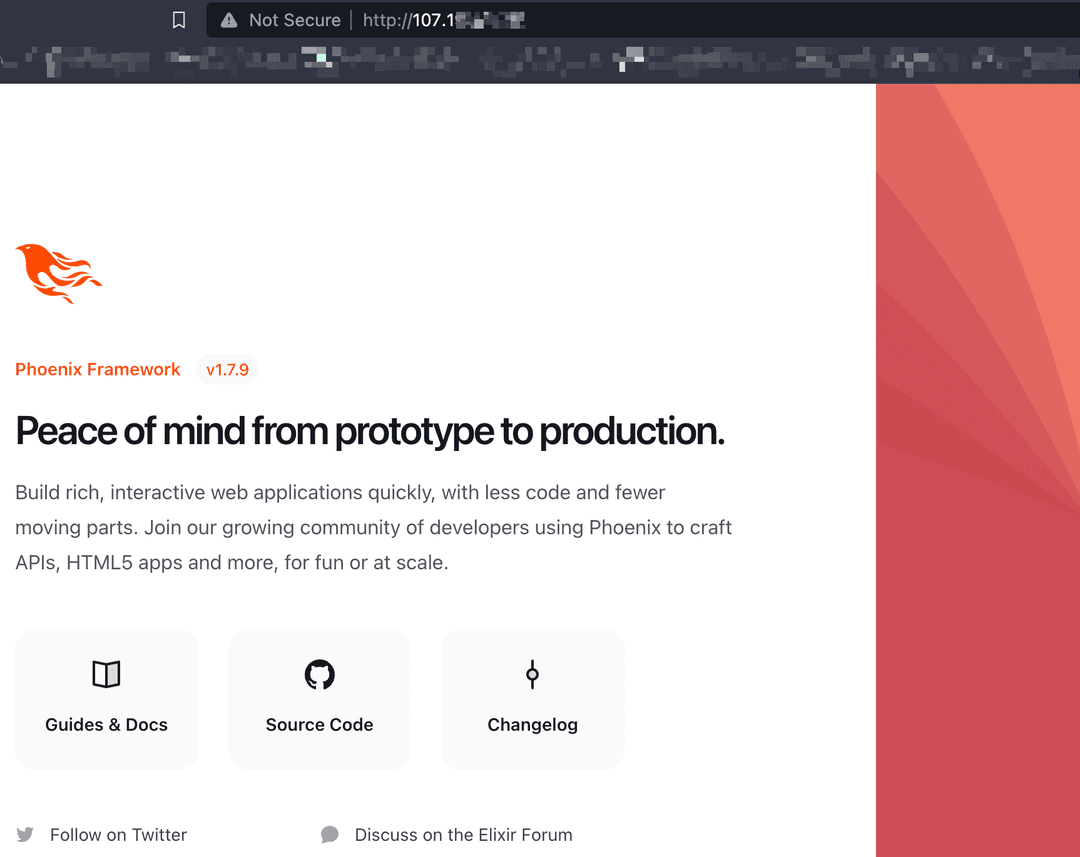
Our sample app in the wild
B. Run docker compose as a systemd service
This is useful when you want to run the app after machine restarts.
Create a service file (e.g. phoenix-app.service):
vim /etc/systemd/system/phoenix-app.service
# /etc/systemd/system/phoenix-app.service
[Unit]
Description=A Phoenix app dockerized container
After=docker.service
Requires=docker.service
SyslogIdentifier=phoenix-app

[Service]
Type=oneshot
RemainAfterExit=yes
Restart=on-failure
ExecStart=/bin/bash -c "docker compose -f /path/to/docker-compose.yml up -d"
ExecStop=/bin/bash -c "docker compose -f /path/to/docker-compose.yml stop"
KillMode=process
LimitNOFILE=65535

[Install]
WantedBy=multi-user.target
Then run the service:
# autostart on boot
sudo systemctl enable phoenix-app

# starts the service
sudo systemctl start phoenix-app
C. Creating a new Phoenix project with the default db (Postgres)
Assuming your doing this from scratch:
Create a new project: mix phx.new your_app
Create .env file:
SECRET_KEY_BASE=YOUR_SECRET_BASE
PHX_HOST="domain.co"
POSTGRES_USER=app
POSTGRES_PASSWORD=password
POSTGRES_DB=app
MIX_ENV=prod
DATABASE_URL=postgres://${POSTGRES_USER}:${POSTGRES_PASSWORD}@postgres:5432/${POSTGRES_DB}
Then docker-compose.yml file:
# docker-compose.yml
services:
  app:
    container_name: app
    build: .
    env_file: .env
    ports:
      - "4000:4000"
    depends_on:
      - postgres
    restart: "always"

  postgres:
    container_name: postgres
    image: postgres:15-bullseye
    env_file: .env
    volumes:
      - "postgres:/var/lib/postgresql/data"
    restart: "always"

  migration:
    container_name: migration
    build: .
    env_file: .env
    depends_on:
      - app
      - postgres
    command: bin/migrate
    restart: "no"

  caddy:
    container_name: caddy
    image: caddy:2.7.5-alpine
    restart: unless-stopped
    command: caddy reverse-proxy --from https://domain.co:443 --to http://app:4000
    ports:
      - 80:80
      - 443:443
    volumes:
      - caddy:/data
    depends_on:
      - app
volumes:
  postgres: {}
  caddy: {}
Then docker compose up --build --detach
Note: the first run of docker compose up --build --detach would take some time since it doesn't have cache layers. Succeeding builds will be cached.
Extra Links
Curiosum: Deploying Phoenix app with mix releases
View logs:
tail -f /var/log/syslog | grep projects_umbrella"